
My thoughts were that the old table was a bit more complex than it needed to be and I wanted to make another. This time I wanted to use a base material that would not leak as plain MDF does. I searched around to see what I could find and managed to get some melamine coated MDF. MDF is porus as I found last time but with the major surfaces sealed by the melamine coating I only need to seal the edges. To do this I gave the edges 3 coats to ensure a good seal.
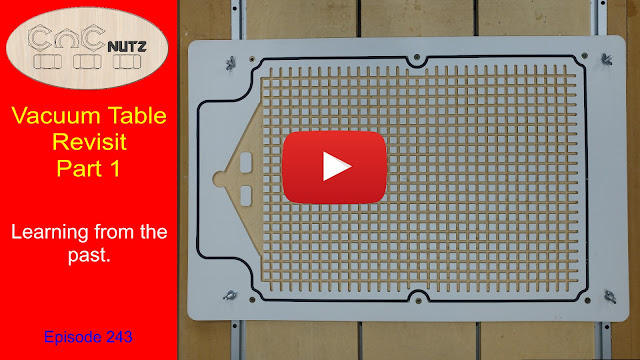
Next I looked at the seal between the base and the top. Last time I simply screwed the 2 pieces together and it seemed to work but this time I bought 2 meters of 6mm round rubber to act as an o'ring. This will seal the top to the bottom and allow me to machine new tops as replacements and also to experiment with as I still have more to learn.
Next I added threaded inserts to attach the base to the top. This will give me a consistent method to attach the top and allow easy replacement. Something to note I didn't screw the top screws down to compress the o'ring. The screw down until they stop turning under gentle pressure and that is all. I do not want to keep the o'ring under constant compression but will allow the vacuum to do this when it is in use and it can return to it's normal state when the vacuum is off. I hope this will prolong the o'ring life.
This time the top has no pockets cut into it but has been left as plane MDF. While in the video I get more than enough sideways holding I don't seem to get much in the way of vertical holding. Does this mean that pockets will improve the table holding or am I missing something. This I hope to find out in the 2nd part of this build at which time I will also release the CAD drawings I used to make the table for those who wish to make their own.
The new vacuum
I have done a test run with the new table and found that new vacuum despite having a separate cooling fan and cooling path the vacuum still gets uncomfortably hot when running under high load. Fortunately I can turn down the power of the vacuum and it runs cool at 1/2 power and up to 3/4 power it seems to be ok. The lower I have to use the better. I hope to give a better report in the next video on whether it works as well as I hoped.
Update
Having done some more testing already I have found that using a flexible board to test vertical holding is not a good idea and I may have been fooling myself. because the board is flexible I can peal the edge up little by little and once it lifts it comes up easily.
I found that once I put the same size piece of melamine onto the table it was a different story. Because I have to lift the entire board as one piece the force is a lot more and it is much much harder to lift. This doesn't answer my question about the pockets in the top and if they will help so in the next episode I will investigate this as see if there is an advantage to doing the extra work and machining pockets.
Cad Drawings available in Part 2 of this video. Use the link below
https://www.cncnutz.com/2020/03/vacuum-table-revisit-part-2-cncnutz.html
Until next time, thanks for watching.
Cheer
Peter