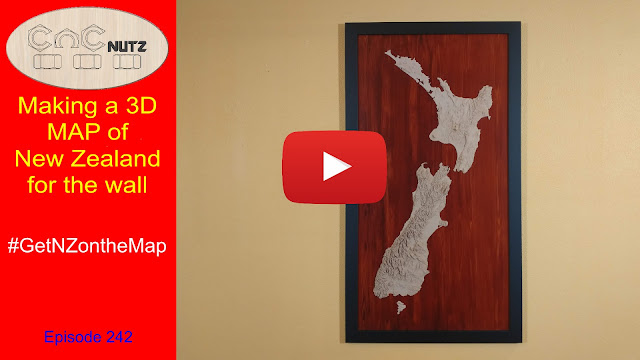
This time I'm going big with a full map of New Zealand in 3D to hang on the wall.
As with quite a few of my projects I changed my mind part way through the build to adapt to unforeseen happenings as well as a much better suggestion to frame it properly.
My original plan was to created a wall hanging as shown on the left but the problem was that the differentiation between the land and the sea is not well defined on a height map so to make it more obvious I ran around the land with a 30 degree Vbit cutter to mark a line and show where the land ended and the sea began. I didn't realize at the time that the MDF model had bowed up just enough in one spot to allow the Vbit to cut all the way through. Not a problem I thought, I will cut the land masses free and then make a cutout shape as shown in blue. I can then glue the land back in place creating a definite distinction between the land and sea. The more I looked at this the less I liked it until Mrs CNCnutz suggested that I put it on a rectangular board and frame it. Painting the board blue wasn't an option for something this big but could I make a wood grain pattern on a piece of MDF as large as this project? I have never done anything this big before, not even close and that was many years ago.
Well the obvious answer is Yes I can and did and the video below will show you how.
Free software to convert a Grayscale height map to an STL.
The program is called heightmap2stl-gui
https://github.com/jeremysimmons/heightmap2stl-gui/releases/tag/v1.3.4
This software can be used for any Grayscale model and once you have converted it you can import the model into your favorite 3D CAM software such as VCarve Pro.
Just down load he zip file heightmap2stl-gui.zip and put the 2 files inside into their own folder. The program does not need to be installed but runs direct from the files as a standalone program. I just put it no my desktop and ran it from there.
There did seem to be a size limit to the model that could be imported so if you find your image is too big just reduce it's size using photo editing software but don't mess with the image color. The actual height won't change as changing size doesn't change the Grayscale of the image itself.
Wood Graining
Wood graining tools are very simple and the chances are that you have seen them before and wondered what they were . Here are some sources of wood graining tools and don't forget to check out your local hardware store as well.
Ebay
https://ebay.to/2RcYTzk
Amazon
https://amzn.to/2qhuchg
Aliexpress
http://bit.ly/2YcL0CN
The sealing coat on the MDF was Orange Shellac flakes dissolved in denatured Alcohol.
This both seals the MDF and provides the yellow background colour.
The stain was Resene Colourwood water based stain and the colour I used is Dark Rimu.
The sealing coat for the finished board was an acrylic vanish though I no longer know the actual brand.
As a personal side note, when applying a clear coat to any 3D project it is best to use a matt finishes rather than gloss. Matt is more forgiving of brush marks and gloss can make viewing the model a lot harder.
Tapered Ball Nose Cutters
Here is the supplier of the tapered ball nose I used in this project.
I used the R1.0xD6x30.5x75L
Just be aware that the tip measurement is a radius not a diameter. So R1.0 is a 2mm diameter cutter.
http://bit.ly/361mk2O
That is all for this project. I hope you enjoyed it and will join me next time.
Cheers
Peter


