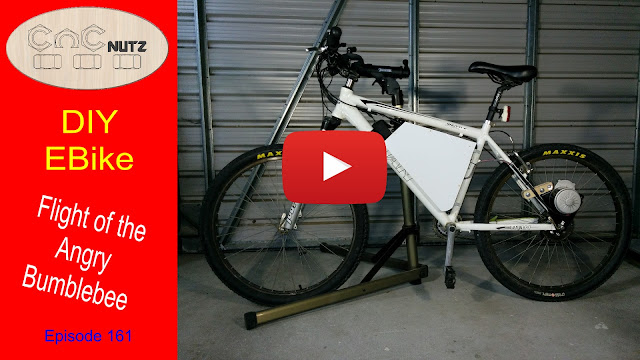
Welcome back to the third and final part of the Ebike build.
This episiode I make the battery box and get everything connected.
the box proved to quite challanging despite being such a simple thing. Mostly because to the lack of mounting points up the side and the triangular shape of the cavity. Depending on how your bike is constructed it could be a very easy task indeed.
Moulding toolpaths
The bottom peice is made using moulding toolpaths which is a great way of creating complex mouldings in a very simple manner. So long as you create an accurate shape for the job and and orientate the mould correctly you will get exactly what you are looking for.
Vectric did an excellent job in adding this feature. You need VCarve Pro 8.5 or later. Is is also a feature in Aspire.
Is it finished
In the future, but not yet, I will be moving the motor to under the bottom bracket and converting it to a mid drive to see what the difference is. Something for another day. I will have a play with it as it is in the mean time and see how it goes for me.
Last Thoughts
I hope you have enjoyed this little project series and maybe you will look at converting your own bike. There are many different kits available all with their advantages and disadvantages. Mine is the cheapest and by no means the best or prettiest option. It does however offer different options for mounting and allows someone without much spare cash to get their feet wet and see if they like it.
Until next time
Cheers
Peter
If you haven't already seen the initial run of the bike then here is the video that shows how it goes and my thoughts as we go.
In this episode I install the kit parts onto the bike.
A relatively simple job if everything can fit where you want them too but if like me you have integrated parts that foul on the new components and need to get replacementparts so that it can all fit together. Fortunately my brother is CycleNutz and has a selection of parts you to rebuild a bike on hand.
The install process is straight forward and once you make the hard decisions you will have it done in no time.
Bonus Video
While this was meant to be the last video in the series I have moved it forward so that if anyone is thinking of following in my footsteps they will have a better idea of what to expect from the kit I purchased. A quick ride around the block with a few thoughts as I go.
Final thoughts
I went this route with my build for several reasons.
First was cost as I didn't have much to spend on this build.
Second I wanted to investigate both rear and mid drive options. A hub drive won't allow this.
The postage on a hub or mid drive kit alone is the same price as this entire kit delivered to my door and this kit will give me a taste.
If I had the money I would go for something like this as mid drive seems to be one of the better options for bike conversons and this kit looks to be very popular.
Ebike Kit
Please
note that by using the link provided I receive a
small commission on any purchase you make, at no extra cost to you. If you do use the link then thank
you for supporting my channel but please do not feel obligated in anyway.Get the best deal for you from a supplier of your choice.
Next episode I will be finishing the batery box and will show how I machine some material to fit around the bottom rail of the bike without having to use 3d modeling.
I hope you enjoy
Cheers
Peter